Every shell tucked in your pocket carries a memory. The smooth piece of frosted sea glass you spotted at the edge of the foam. The little shark tooth your daughter found and could not stop talking about. The weathered curve of driftwood you carried back to the car because it looked, somehow, like it belonged with you. These are not just beach finds. They are tiny, salt-washed souvenirs of a morning you do not want to forget.
And yet, for so many of us, those treasures end up in the same place — a forgotten drawer, a dusty mason jar in the garage, a ziplock bag at the bottom of a beach tote. They deserve better. They deserve to be seen, touched, and remembered.
This guide is our invitation to change that. Below you will find 50 creative beach treasure crafts and display ideas — projects for whole shells and broken shells, for sea glass and shark teeth, for driftwood, sand dollars, and beach stones. Some take an afternoon. Some take ten minutes. All of them help you turn the things you gathered into keepsakes you will actually live with.
Whether you are a seasoned beachcomber with overflowing buckets or someone who came home from one good vacation with a handful of shells, there is something here for you. Let's turn your collection into something beautiful.
Before You Start: Cleaning, Organizing & Tools
The most beautiful beach treasure crafts almost always begin the same way — with clean, sorted, well-loved materials. Before you reach for the glue gun, take a little time to prepare your finds. It is the least glamorous step and the one that makes the biggest difference.
How to Clean Your Beach Finds
Shells should be soaked to remove sand, salt, and any lingering residue. A gentle solution of equal parts water and white vinegar lifts away chalky buildup, while a soft toothbrush coaxes grit from ridges and spirals. Sea glass simply needs warm soapy water and a soft cloth. Driftwood can be brushed clean, rinsed, and dried thoroughly in the sun.
Always make sure a shell is empty before you bring it home, and never collect a living creature. For a complete walkthrough — including how to whiten, deodorize, and seal your finds — our cleaning guide covers every method step by step.
How to Organize Your Collection
Sort before you store. Group treasures by type, then by size and color. This single habit transforms crafting later — instead of digging through a bin, you reach for exactly the scallop, cowrie, or sea glass shard you need.
- Sort by category: shells, sea glass, shark teeth, driftwood, sand dollars, stones
- Separate whole, display-worthy pieces from broken bits destined for mosaics
- Keep a small 'best of' tray for your most special finds
- Label by beach and date to preserve the memory, not just the object
Storage & Display Ideas
Compartment trays, glass apothecary jars, and shallow linen-lined boxes keep collections both protected and beautiful. A printable label set turns simple jars into a curated, museum-style archive — and makes it easy to find what you need.
Essential Craft Tools
- A reliable hot glue gun with extra glue sticks
- Two-part epoxy or clear-drying craft adhesive for heavier shells
- UV resin or two-part casting resin for coasters and trays
- Fine-tip tweezers for placing small shells and sea glass
- A soft brush, microfiber cloths, and a cutting mat
- Wire, jewelry findings, and a small drill for pendants and ornaments
Recommended Adhesives
Match the glue to the job. Hot glue is perfect for lightweight shells on wreaths and frames. Two-part epoxy holds heavier specimens and outdoor pieces. Clear-drying craft glue is ideal for delicate mosaics, and UV resin is unmatched for coasters, trays, and anything that needs a glassy, waterproof finish.
Safety Tips
- Work in a well-ventilated space when using resin or epoxy
- Wear gloves and protective eyewear with resin and when drilling shells
- Drill shells while they are slightly damp to reduce dust and cracking
- Keep small shells and beads away from young children
What You Should Never Collect
Beautiful crafting starts with ethical collecting. Leave living shells, sand dollars, and starfish where they are. Never take coral, which is protected in most regions and vital to reef life. Respect posted limits and protected beaches.
15 Broken Seashell Craft Ideas
Cracked, chipped, or imperfect shells are not failures — they are raw material. Broken seashell crafts are some of the most rewarding projects of all, because they give purpose to the pieces most people throw away. A handful of fragments becomes a mosaic, a border, a little work of art.
1. Mosaic Picture Frame
Press broken shell pieces into a thin layer of adhesive around a plain wooden frame, fitting them like puzzle pieces for a tide-pool effect. Perfect for framing a favorite beach photo.
- Difficulty: Easy
- Time: 1–2 hours plus drying
- Supplies: Wooden frame, broken shells, craft glue, grout (optional)
- Tip: Lay out your design before gluing — dry-fitting prevents awkward gaps.
2. Shell Jewelry Dish
Line the inside of a small ceramic or air-dry clay dish with shell fragments to create a pretty catch-all for rings and earrings. A thoughtful, useful keepsake for a nightstand or entry.
- Difficulty: Easy
- Time: 45 minutes
- Supplies: Small dish or clay, shell pieces, clear adhesive
- Tip: Seal with a coat of resin or clear varnish for an easy-to-wipe finish.
3. Decorated Flower Pot
Transform a plain terracotta pot into coastal decor by covering it with overlapping shell fragments. Beautiful indoors with a fern or on a sunny porch.
- Difficulty: Easy
- Time: 1–2 hours
- Supplies: Terracotta pot, broken shells, weatherproof adhesive
- Tip: Use two-part epoxy if the pot will live outdoors.
4. Resin Coaster
Suspend shell fragments, tiny shells, and a whisper of sand in clear resin for a coaster that looks like a frozen wave. A standout broken-shell craft that feels professionally made.
- Difficulty: Moderate
- Time: 1 hour plus 24-hour cure
- Supplies: Coaster mold, UV or casting resin, shell pieces, sand
- Tip: Work on a level surface and pop bubbles with a small torch or toothpick.
5. Shell-Rimmed Candle Holder
Glue shell fragments around a glass votive or hurricane to scatter warm, flickering light through the pieces. Instant coastal ambiance for a dinner table.
- Difficulty: Easy
- Time: 45 minutes
- Supplies: Glass holder, shell pieces, hot glue
- Tip: Use flameless candles when shells sit close to the flame.
6. Garden Stepping Stone
Set shell fragments into a poured concrete stepping stone for a personal touch along a garden path — a lasting reminder of the shore underfoot.
- Difficulty: Moderate
- Time: 1 hour plus 48-hour cure
- Supplies: Stepping stone kit or mold, concrete, shell pieces
- Tip: Press shells in once the concrete is firm but not fully set.
7. Coastal Christmas Ornament
Fill a clear glass ornament with shell fragments and a pinch of sand, or cover a foam ball in tiny pieces for a textured, seaside keepsake to hang each year.
- Difficulty: Easy
- Time: 30 minutes
- Supplies: Clear ornament, shell bits, sand, ribbon
- Tip: Add the date with a paint pen to mark the year and beach.
8. Decorative Shell Tray
Line the base of a wooden or acrylic tray with a mosaic of shell pieces, then seal with resin for a serving or vanity tray that doubles as art.
- Difficulty: Moderate
- Time: 2 hours plus cure
- Supplies: Flat tray, shell fragments, resin
- Tip: Keep pieces low and flat so the resin pours evenly.
9. Shell-Tipped Bookmark
Attach a small, flat shell fragment to a ribbon or cardstock bookmark for a delicate gift that brings the beach to every reading nook.
- Difficulty: Easy
- Time: 20 minutes
- Supplies: Ribbon or cardstock, flat shell piece, glue
- Tip: Choose lightweight pieces so the bookmark lies flat.
10. Coastal Wall Art
Arrange shell fragments into a pattern, monogram, or wave shape on a canvas or wood panel for striking, personal coastal wall art.
- Difficulty: Moderate
- Time: 2–3 hours
- Supplies: Canvas or panel, shell pieces, strong adhesive
- Tip: Sketch your design in pencil first to keep lines clean.
11. Shell Mirror Border
Frame a plain mirror with overlapping shell fragments for a coastal statement piece that reflects light beautifully in an entryway or bath.
- Difficulty: Moderate
- Time: 2–3 hours
- Supplies: Mirror, shell pieces, epoxy
- Tip: Build from the corners inward for a balanced look.
12. Wooden Shell Initials
Cover wooden letters with shell fragments to spell a name, initial, or word like 'SHORE' — a charming addition to a shelf, nursery, or beach house.
- Difficulty: Easy
- Time: 1–2 hours
- Supplies: Wooden letters, small shell pieces, glue
- Tip: Start along the edges, then fill the centers.
13. Seashell Wind Chime
Drill small holes in shell pieces and string them from driftwood so they clink softly in the breeze — a craft that captures the sound of the shore.
- Difficulty: Moderate
- Time: 2 hours
- Supplies: Driftwood, shells, fishing line, small drill
- Tip: Vary the lengths so the shells brush together gently.
14. Shell Magnets
Glue small shell fragments to flat magnets for an easy, useful project that brings a bit of the beach to the refrigerator or memo board.
- Difficulty: Easy
- Time: 20 minutes
- Supplies: Flat magnets, small shells, strong glue
- Tip: Choose lightweight pieces so the magnets still grip.
15. Vacation Memory Jar
Layer shell fragments, sand, and a handwritten note in a clear glass jar to preserve a single trip. The simplest, most sentimental broken-shell craft of all.
- Difficulty: Easy
- Time: 15 minutes
- Supplies: Glass jar, shells, sand, label
- Tip: Add a tag with the beach name and date for a lasting keepsake.
Save These Broken Shell Craft Ideas
Pin this collection of 15 broken seashell crafts — mosaics, jewelry dishes, coasters, and more — to give every cracked and chipped shell a beautiful second life.
10 Whole Seashell Display Ideas
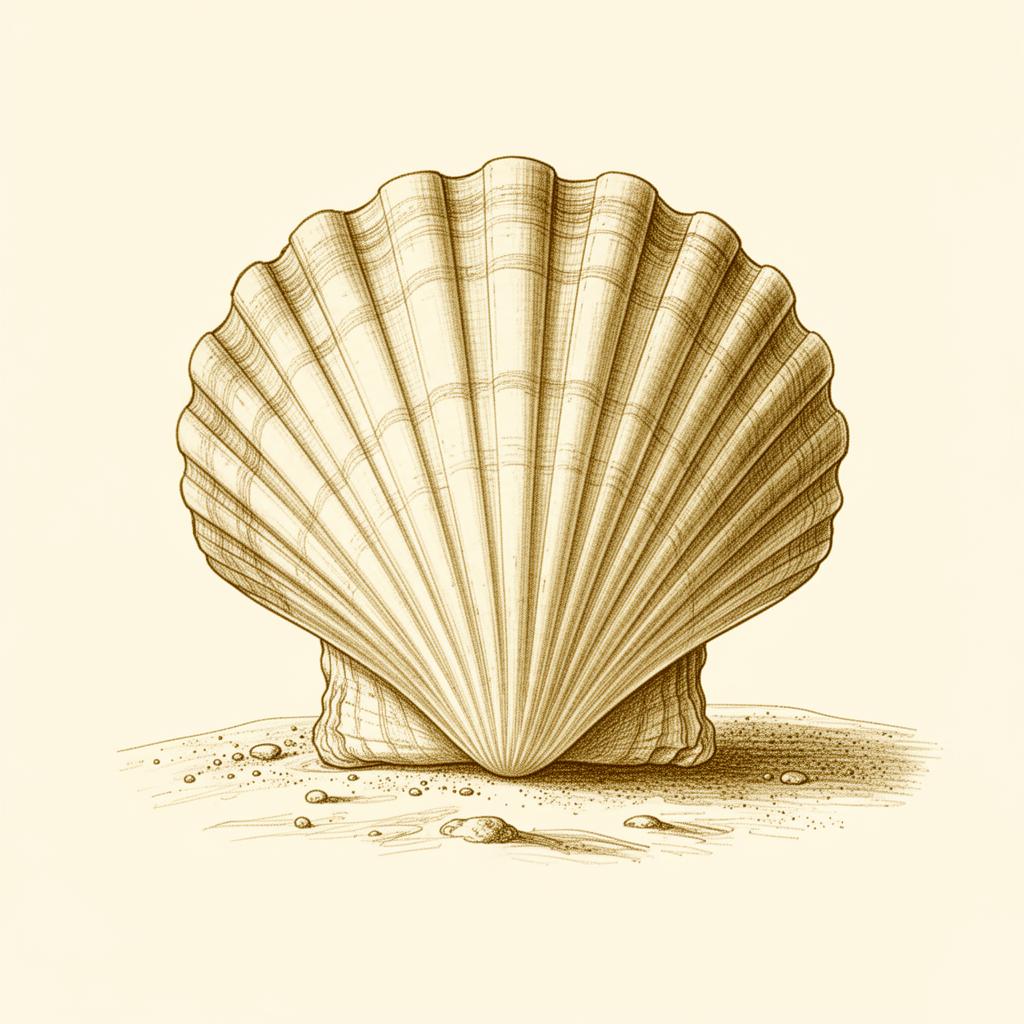
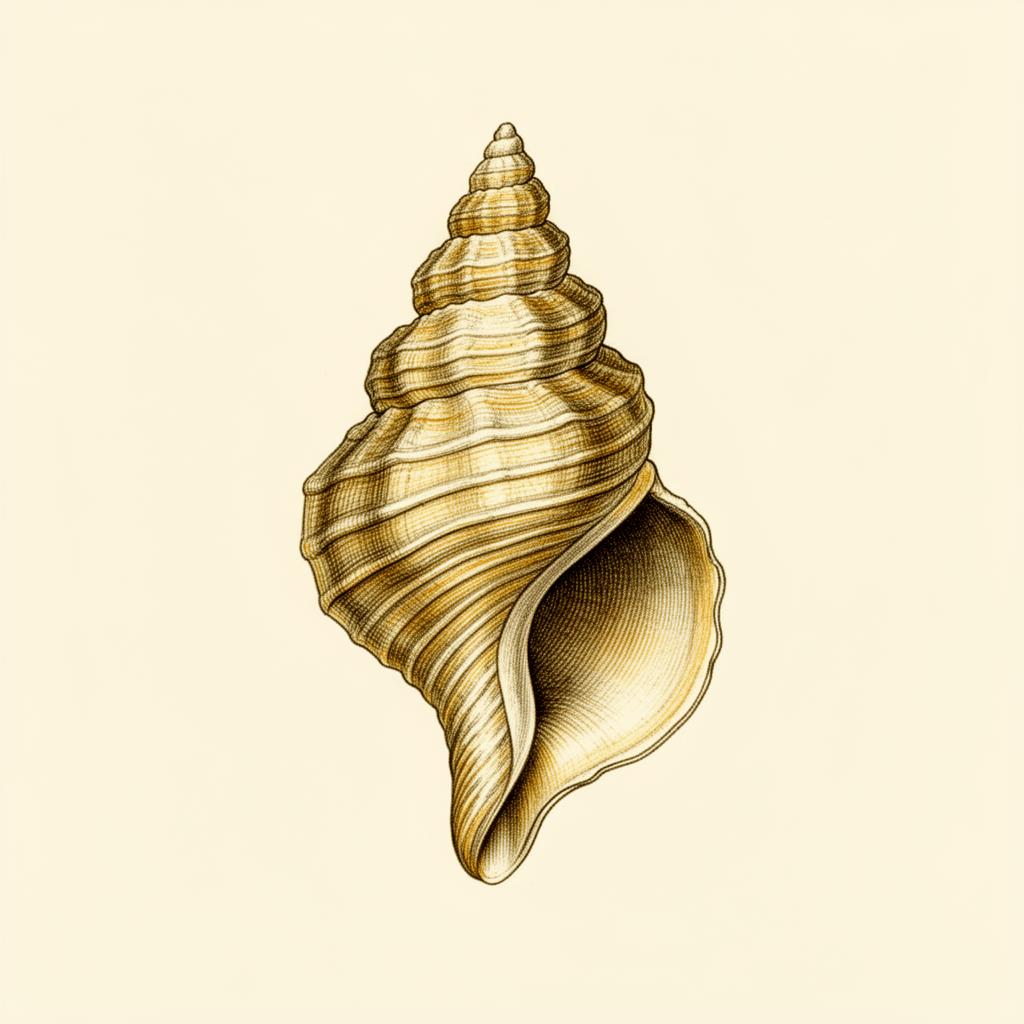
Not every shell belongs in a craft. Your finest specimens — the perfect lightning whelk, the flawless scallop, the rare find you still talk about — are most beautiful when displayed simply and elegantly. These ten ideas focus on museum-quality presentation rather than crafting, letting the natural beauty of each shell speak for itself.
1. Shadow Boxes
A white shadow box turns a curated group of shells into framed art. Arrange specimens against a linen background with a little space around each one, the way a museum would.
2. Glass Cloches
Place a single statement shell beneath a clear glass cloche to give it the reverence of a gallery piece. Cluster cloches of varying heights for a quietly dramatic vignette.
3. Coffee Table Bowls
A shallow ceramic or wooden bowl filled with shells invites guests to touch and admire. Keep to a single color family for a refined, collected look.
4. Floating Shelves
Line shells along floating shelves with generous negative space between them. Restraint is what makes a display feel intentional rather than cluttered.
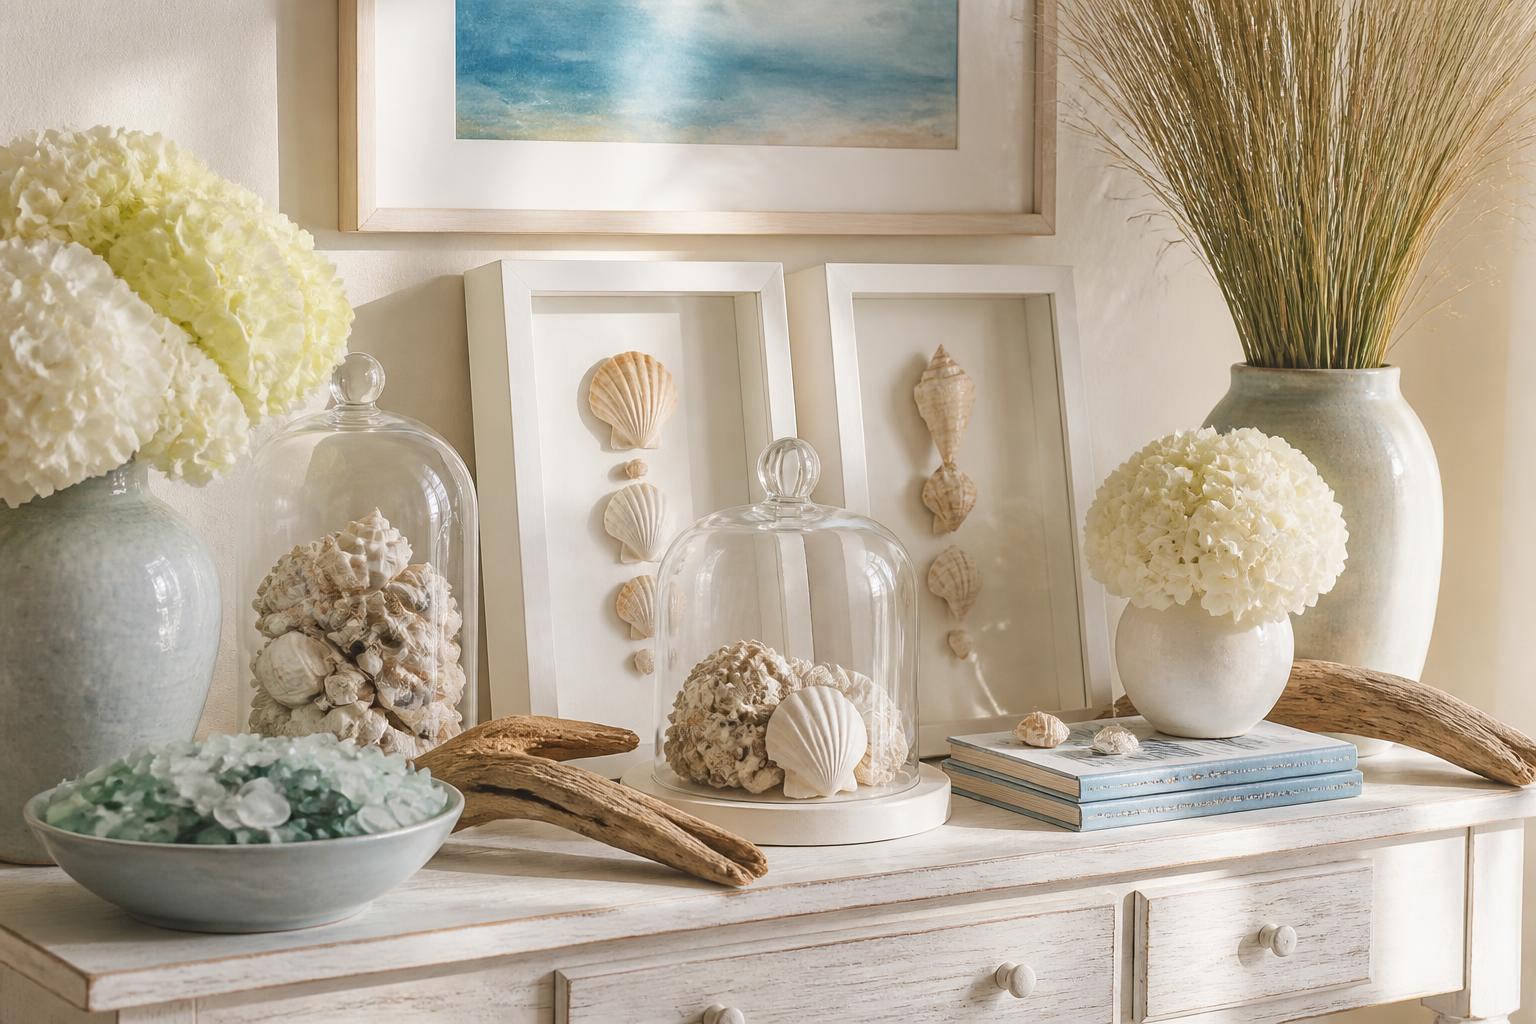
5. Console Table Styling
Compose an entry console with cloches, a shadow box, a sea glass bowl, and fresh hydrangeas. Layering heights and textures creates that effortless coastal-cottage feeling.
6. Dining Centerpieces
A low tray of shells and driftwood running down the center of a table makes an organic, elegant centerpiece — perfect for everyday or for a coastal gathering.
7. Lantern Fillers
Fill the base of a glass lantern with shells around a pillar candle. The light catches their curves and casts a warm, seaside glow.
8. Built-In Bookcase Accents
Tuck a cloche-covered shell or a small specimen group between stacks of books to add coastal character to a bookcase without overwhelming it.
9. Decorative Trays
Corral your best shells on a beautiful tray atop an ottoman or dresser. A tray gives a collection structure and makes it easy to move and dust.
10. Vacation Memory Displays
Dedicate a single shelf or shadow box to one trip — shells, a photo, a ticket stub. A themed display tells a story far better than a mixed jar ever could.
Not sure exactly what you are displaying? Identifying your shells makes any presentation feel more curated — and far more fun to talk about with guests.
10 Sea Glass and Shark Tooth Projects
Sea glass and shark teeth are the prizes of the patient beachcomber. Both take time to find — and both deserve special treatment once you do.
How Sea Glass Forms
Sea glass begins as ordinary discarded glass — bottles, jars, tableware — that tumbles in the surf for years, sometimes decades. Sand, salt, and constant motion frost the surface and round every edge until what was once trash becomes a smooth, jewel-like gem. The softer the frosting and the rounder the edges, the longer it spent at sea.
Why Shark Teeth Are Treasured
Sharks shed thousands of teeth over a lifetime, and the ones we find on the beach are often fossils — colored gray, black, or brown by the minerals they absorbed over thousands of years buried in sediment. Each tooth is a tiny piece of natural history, which is exactly why collectors prize them so highly.
1. Framed Sea Glass Collection
Arrange sea glass by color in a deep frame against linen for a gradient that looks like stained glass. A simple, stunning way to show off a hard-won collection.
- Difficulty: Easy
- Time: 1 hour
- Supplies: Shadow-box frame, linen, sea glass, glue dots
- Tip: Sort cool colors to warm for a natural ombré effect.
2. Sea Glass Jewelry
Wrap a smooth piece of sea glass in wire to make a pendant, or set shark teeth into simple bezels. Wearable keepsakes that carry the beach with you everywhere.
- Difficulty: Moderate
- Time: 1–2 hours
- Supplies: Jewelry wire, findings, sea glass or teeth
- Tip: A starter jewelry kit makes wire-wrapping far easier.
3. Shark Tooth Shadow Box
Mount shark teeth in rows on linen with small handwritten labels for species and location — an educational display that looks like it belongs in a natural history museum.
- Difficulty: Moderate
- Time: 2 hours
- Supplies: Shadow box, linen, archival labels, glue
- Tip: Group by size to keep the layout clean and balanced.
4. Sea Glass Resin Tray
Suspend sea glass in clear resin within a tray mold for a piece that glows like beach treasure caught in still water.
- Difficulty: Moderate
- Time: 1 hour plus cure
- Supplies: Tray mold, casting resin, sea glass
- Tip: Place the brightest pieces where the light will hit them.
5. Collector's Display Case
Use a compartmented riker or display case to organize sea glass and teeth by color, size, or find date — equal parts archive and art.
- Difficulty: Easy
- Time: 1 hour
- Supplies: Riker mount or compartment case, labels
- Tip: Add a note card with where and when each piece was found.
6. Educational Display
Pair shark teeth with a small chart identifying species and approximate age — a wonderful project to make with children who love to learn.
- Difficulty: Easy
- Time: 1–2 hours
- Supplies: Frame, printed ID chart, mounted teeth
- Tip: Laminate the chart so curious hands can explore it freely.
7. Sea Glass Sun Catcher
String sea glass on wire or fishing line and hang it in a sunny window to scatter soft, colored light across the room.
- Difficulty: Moderate
- Time: 2 hours
- Supplies: Wire, drill or wrap findings, sea glass
- Tip: Mix sizes so the strand catches light at different heights.
8. Glass Jar Display
Fill clear apothecary jars with sea glass sorted by color. Simple, glowing, and endlessly beautiful on a sunlit sill.
- Difficulty: Easy
- Time: 15 minutes
- Supplies: Glass jars, sorted sea glass
- Tip: Place jars where the sun can pass through the glass.
9. Floating Frame
Suspend individual pieces of sea glass between two panes of glass so they appear to float — a modern, gallery-style display.
- Difficulty: Easy
- Time: 30 minutes
- Supplies: Double-glass floating frame, sea glass
- Tip: Choose your most colorful, translucent pieces for impact.
10. Keepsake Gift
Set a single special piece of sea glass or a shark tooth into a small frame or pendant as a deeply personal gift for a fellow beach lover.
- Difficulty: Easy
- Time: 30 minutes
- Supplies: Mini frame or bezel, sea glass or tooth
- Tip: Include a card noting the beach where it was found.
10 Driftwood, Sand Dollar, and Beach Stone Crafts
Driftwood, sand dollars, and beach stones bring a more sculptural, organic feeling to your crafts. Their weathered shapes and soft neutral tones make them some of the most versatile beach treasures of all.
1. Driftwood Candle Holder
Drill shallow openings into a thick piece of driftwood to hold tea lights or taper candles for a centerpiece that feels straight from the shore.
- Difficulty: Moderate
- Time: 1 hour
- Supplies: Driftwood, drill with spade bit, candles
- Tip: Use flameless candles for safety with porous wood.
2. Air Plant Display
Tuck air plants into the natural crevices of driftwood for a living sculpture that needs little more than the occasional misting.
- Difficulty: Easy
- Time: 30 minutes
- Supplies: Driftwood, air plants, optional clear adhesive
- Tip: Choose driftwood with natural nooks to cradle each plant.
3. Driftwood Holiday Tree
Stack graduated lengths of driftwood on a dowel to build a coastal tabletop tree — a beautiful, minimalist alternative for the holidays.
- Difficulty: Moderate
- Time: 2 hours
- Supplies: Driftwood pieces, wooden dowel, base, drill
- Tip: Sort pieces longest to shortest before assembling.
4. Sand Dollar Ornament
Add a ribbon and a touch of shimmer to a preserved sand dollar for a delicate, heirloom-quality ornament.
- Difficulty: Easy
- Time: 20 minutes
- Supplies: Preserved sand dollar, ribbon, sealant
- Tip: Always seal sand dollars first — see the note below.
5. Beach Stone Centerpiece
Stack smooth beach stones into a balanced cairn or fill a low bowl with them for a calming, zen-like accent.
- Difficulty: Easy
- Time: 30 minutes
- Supplies: Smooth stones, optional clear adhesive, bowl
- Tip: A dab of glue keeps a stacked cairn from toppling.
6. Painted Garden Markers
Letter herb and flower names onto flat beach stones with paint pens for charming, weatherproof garden markers.
- Difficulty: Easy
- Time: 45 minutes
- Supplies: Flat stones, paint pens, clear sealer
- Tip: Seal the lettering so it survives sun and rain.
7. Coastal Wreath
Wire driftwood, shells, and a few sand dollars onto a grapevine base for a textured wreath that welcomes guests with seaside charm.
- Difficulty: Moderate
- Time: 2–3 hours
- Supplies: Wreath base, driftwood, shells, wire, glue
- Tip: Build in layers, securing heavier pieces first.
8. Lantern Styling
Nestle driftwood, stones, and a sand dollar around a candle inside a glass lantern for an organic, glowing tableau.
- Difficulty: Easy
- Time: 20 minutes
- Supplies: Glass lantern, driftwood, stones, candle
- Tip: Keep the arrangement low so the candlelight shows.
9. Driftwood Wall Hanging
Suspend shells, sea glass, and small driftwood pieces from a horizontal branch for a bohemian-coastal wall hanging.
- Difficulty: Moderate
- Time: 2 hours
- Supplies: Driftwood branch, cord, shells, sea glass
- Tip: Vary strand lengths for natural, flowing movement.
10. Decorative Shelf Accent
Rest a single sculptural piece of driftwood or a small bowl of sand dollars on a shelf to add quiet, collected coastal character.
- Difficulty: Easy
- Time: 10 minutes
- Supplies: Driftwood or sand dollars, small bowl
- Tip: Let one beautiful piece stand alone — less is more.
How to Preserve Sand Dollars
Sand dollars are fragile and must be preserved before crafting. Soak them gently in fresh water, then in a mild bleach solution to clean and whiten. Rinse, dry fully in the sun, and finish with a 50/50 mix of white glue and water brushed over both sides — this hardens the delicate skeleton so it can be handled and displayed for years.
5 Coastal Decorating Ideas, Room by Room
The most beautiful beach treasure crafts are the ones you actually live with. Here is how to weave your handmade pieces into each room so they feel like sophisticated decor rather than souvenirs.
Living Room
Built-in shelving is the perfect stage for a collection. Mix cloche-covered specimens, shadow boxes, and sea glass bowls with stacks of coastal books, keeping a soft, restrained palette so the room feels calm and curated. A driftwood coffee table tray ties it all together.
Entryway
Greet guests with a console styled in layers — a shell-bordered mirror above, a small shadow box, a catch-all jewelry dish for keys, and a vase of hydrangeas. It sets a serene, welcoming tone the moment they walk in.
Bathroom
Bathrooms are made for coastal touches. A glass apothecary jar of sea glass, a shell-rimmed tray for soaps, and a single framed sand dollar bring spa-like calm without feeling themed.
Bedroom
Keep it peaceful. A shadow box of your most meaningful finds above the bed, a small dish of shells on the nightstand, and soft, sea-washed colors turn the bedroom into a quiet coastal retreat.
Coffee Table Styling
Anchor the table with a tray, then layer a stack of books, a low bowl of shells, and a single sculptural piece of driftwood or coral. The tray keeps the vignette tidy and intentional — the hallmark of polished coastal style.
Bringing the Coast Home
Beyond crafting and decorating, your beach treasures can become heartfelt gifts and lasting family traditions. A shell-bordered frame for a grandparent, a sea glass pendant for a friend, a vacation memory jar made together after a trip — these are the keepsakes people hold onto.
If you are planning a coastal celebration, natural shells, sea glass, and driftwood also make for breathtaking, meaningful wedding details — from place cards to centerpieces.
Free Beach Treasure Craft Supply Checklist
Print this checklist before your next crafting session so you have every tool, adhesive, and finishing touch ready to go.
Cleaning & Prep
Adhesives
Tools
Display & Finishing
In Closing
Every shell tells the story of a favorite beach walk. The sea glass remembers the tide that smoothed it. The driftwood carries the shape of a hundred storms. When you turn these treasures into something you can see and touch every day, you are not just decorating — you are keeping the memory alive.
So pull that forgotten jar out of the drawer. Sort your finds by the window where the light is good. Choose one project from this guide and begin. You will be amazed at how a handful of beach treasures can transform a room — and how good it feels to live among the memories you gathered yourself.
Wherever your next walk takes you, may your pockets come home full.
Frequently Asked Questions
Written by
The Tidal Keepsakes Team
Coastal Curators & Shell Enthusiasts
We're a small team of beachcombers, collectors, and coastal decorators who spend our days hand-selecting shells and sharing the calm of the shore. Every guide we write is rooted in time spent with sand between our toes.