 Save
SaveGuide
How to Clean Seashells
Simple, safe methods to clean and preserve the shells you gather so they last for years.
Simple, safe methods to clean and preserve the shells you gather so they last for years.
 Save
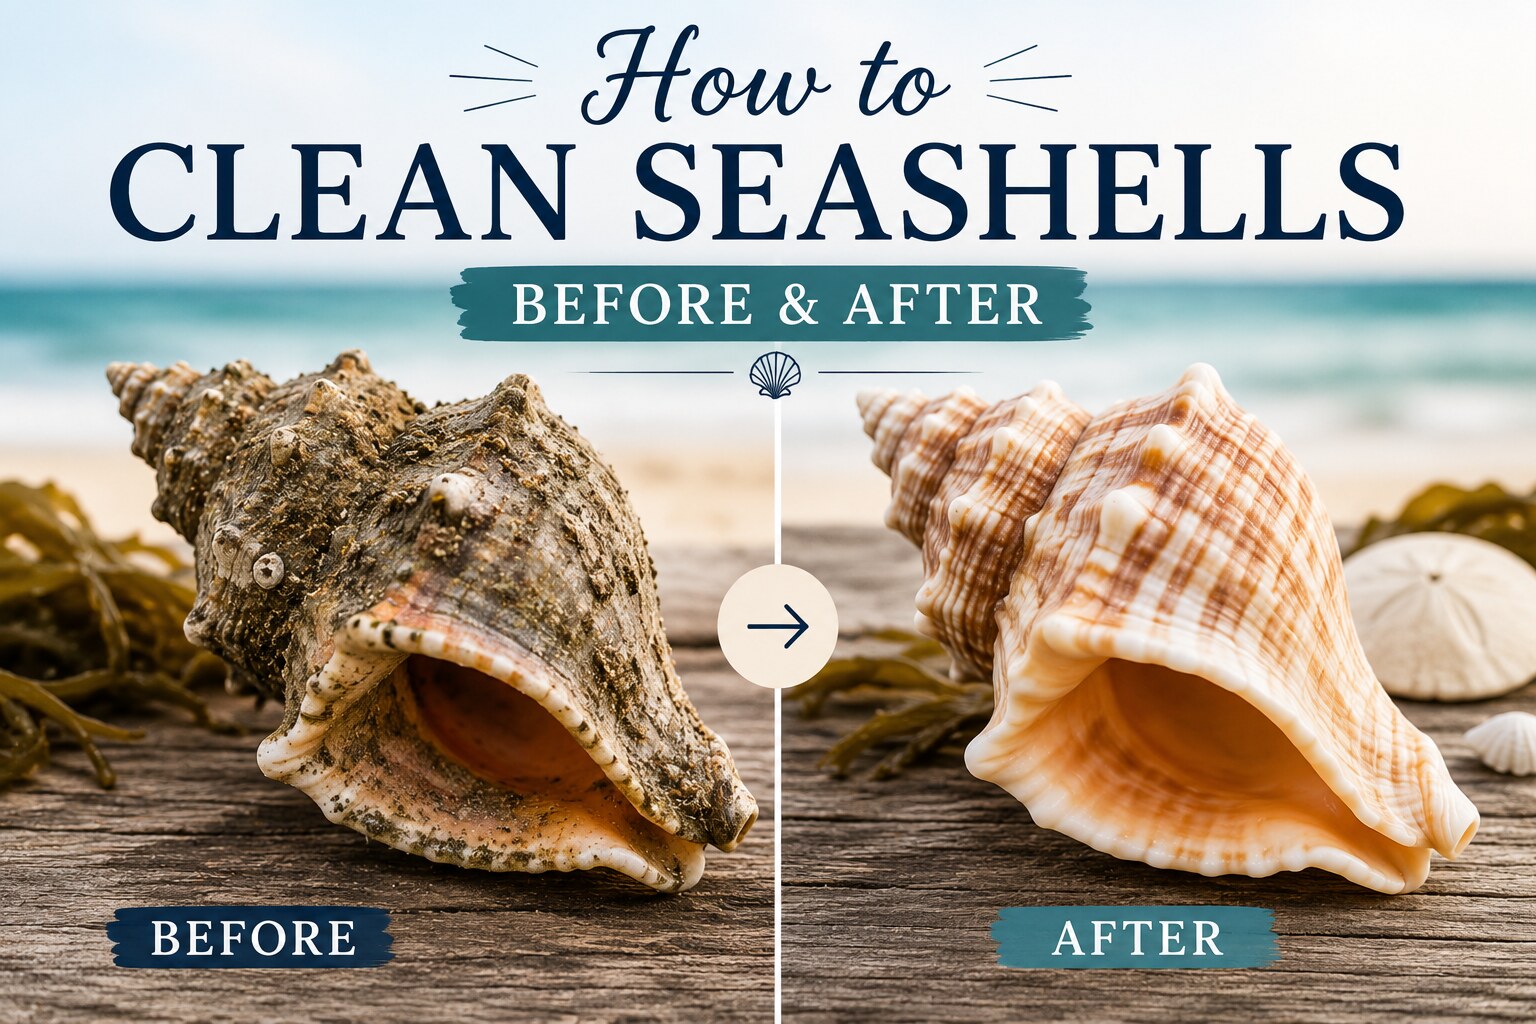
SaveCleaning seashells is a multi-step process that involves removing salt, sanitizing organic matter, and polishing to restore their natural luster.
1. Initial Rinse & Soak
Start by rinsing your shells in fresh water to remove loose sand and salt. For a basic clean, soak them in a bowl of warm water with a few drops of dish soap for several hours to loosen surface grime.
2. Deep Cleaning & Sanitizing
If your shells have stubborn algae, barnacles, or a "beach smell," use one of these stronger methods:
Using Bleach on Sturdy Shells
Bleach Bath: Soak shells in a solution of 1 part bleach to 3–4 parts water. This effectively kills bacteria and dissolves the periostracum (the flaky outer skin).
Caution: Do not leave them in for more than a few hours, as bleach can make shells brittle or fade their color. Avoid bleaching naturally shiny shells like Cowries or Olives.
Cleaning Seashells Without Bleach
Most finds never need bleach at all. If you would rather skip it — or the shell is delicate, colorful, or naturally glossy — use one of the methods below instead.
Dish Soap Soak: A bowl of warm water with a few drops of dish soap, left for several hours, loosens surface grime and is safe on every shell in this guide.
Boiling: For sturdy shells, boil them in a pot of water for 5–15 minutes to kill microbes and make it easier to remove internal tissue.
Vinegar/Eco-Friendly: For a gentler approach, use a 50/50 water and white vinegar mix. Do not soak for long periods, as the acid in vinegar can erode the calcium carbonate of the shell.
Removing Odor from Seashells
A persistent ocean smell almost always means residual organic matter is still inside the shell rather than anything on the surface. Cleaning it out is what removes the odor — masking it never works.
Repeat the soak in a mild dish-soap solution, rinse thoroughly, and let the shell dry completely before judging the result; shells must be bone dry before they go into a box. Reserve heavily diluted bleach (1:4 with water) for shells that are still noticeably smelly after two soaks, and skip it entirely on glossy or delicate finds.
3. Scrubbing & Detailing
Use an old toothbrush to scrub out crevices. For barnacles or deep-seated gunk, use a dental pick, metal wire brush, or tweezers to carefully chip away debris after the soak has softened it.
4. Polishing and Preserving Your Shells
Once shells are completely dry (wait at least 24 hours), they often look dull.
Mineral Oil: Rub a small amount of mineral oil or baby oil onto the shell with a soft cloth or Q-tip. This rehydrates the shell and restores its vibrant "wet" look without making it sticky.
Clear Coat: For a more permanent, high-gloss finish, you can use a clear acrylic spray or clear nail polish.
 Save
SaveCleaning Delicate, Biological, or Small Finds
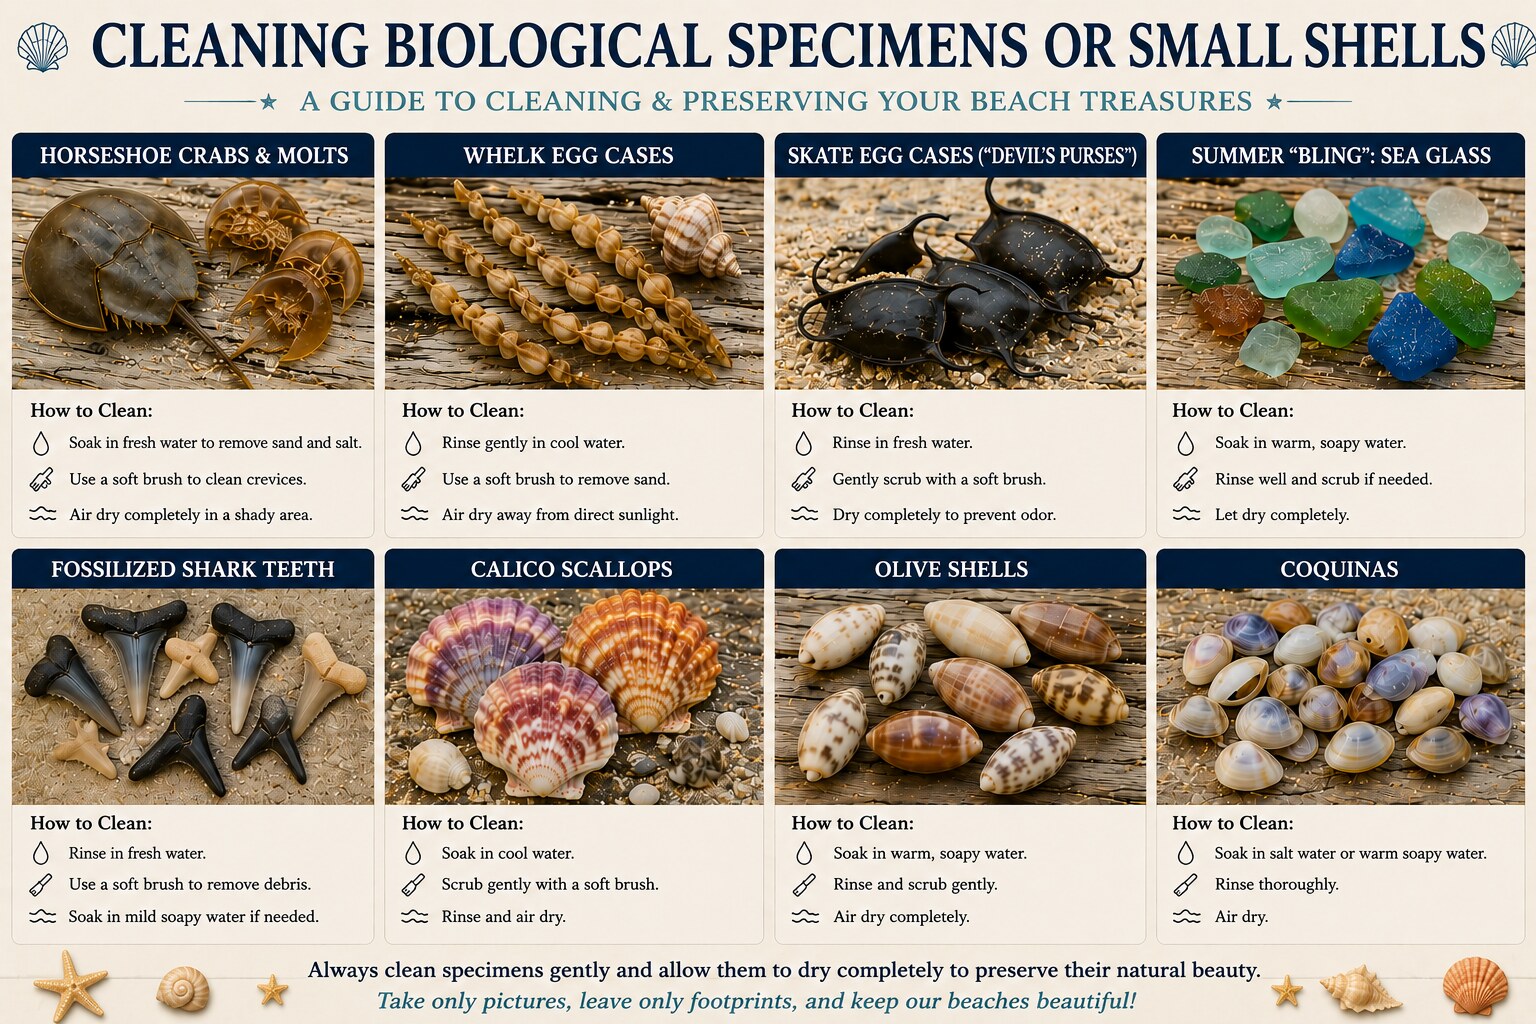
Cleaning biological specimens like egg cases and horseshoe crab molts requires a much gentler touch than stone-like shells. If you use heavy bleach on these, they will likely disintegrate.
1. Biological "Soft" Finds
These items were once living tissue or organic casings, so the goal is preservation rather than deep scrubbing.
Horseshoe Crab Molts: These are very fragile. Gently rinse in fresh water to remove sand, then dip briefly (30 seconds) in a very weak bleach solution (1:10 ratio) to kill odors. While wet, they are flexible — stuff the underside with paper towels to help the "shell" keep its shape as it dries. Air dry completely in a cool, shaded spot, avoiding direct sun, which makes them brittle.
Whelk & Skate Egg Cases: Soak in fresh water for an hour to rehydrate and flush out trapped sand or tiny dead organisms. Use a soft paintbrush to flick out sand from the "pockets" of the whelk egg string. Once dry, these can become very crispy — some collectors lightly mist them with matte acrylic spray to prevent them from crumbling over time.
2. Fossils & Glass
These are durable and can handle more vigorous cleaning.
Fossilized Shark Teeth: Soak in fresh water for 24 hours to leach out the salt, then scrub with a soft toothbrush and dish soap to remove river mud or clay from the root. If the tooth looks dull when dry, a tiny drop of mineral oil rubbed in with your thumb will restore that "fossil black" luster.
Sea Glass: Use warm soapy water and a soft brush to remove the "ocean film." To keep that frosted, powdery look, leave it alone after washing. If you want it to look "wet" and vibrant in a jar, apply a tiny amount of coconut or mineral oil.
3. Small & Shiny Shells
Olive Shells: Never bleach these. Bleach destroys their natural high-gloss finish. Simply soak in fresh water and dish soap, then polish with a soft microfiber cloth.
Coquinas & Calico Scallops: These are usually found in large numbers. Soak them in a bowl of warm soapy water and "swish" them around to knock out sand. A 10-minute soak in a 1:4 bleach solution will make the pinks and oranges of the Calico Scallops pop, but rinse immediately after.
Let cleaned shells dry completely — at least 24 hours, and out of direct sunlight — before they go on a shelf or into a project. Once they are bone dry and finished, the guides below pick up where this one ends.
Next Steps
What to Do With Your Shells Next
Cleaning is the middle of the story. Here is where beachcombers usually go next.
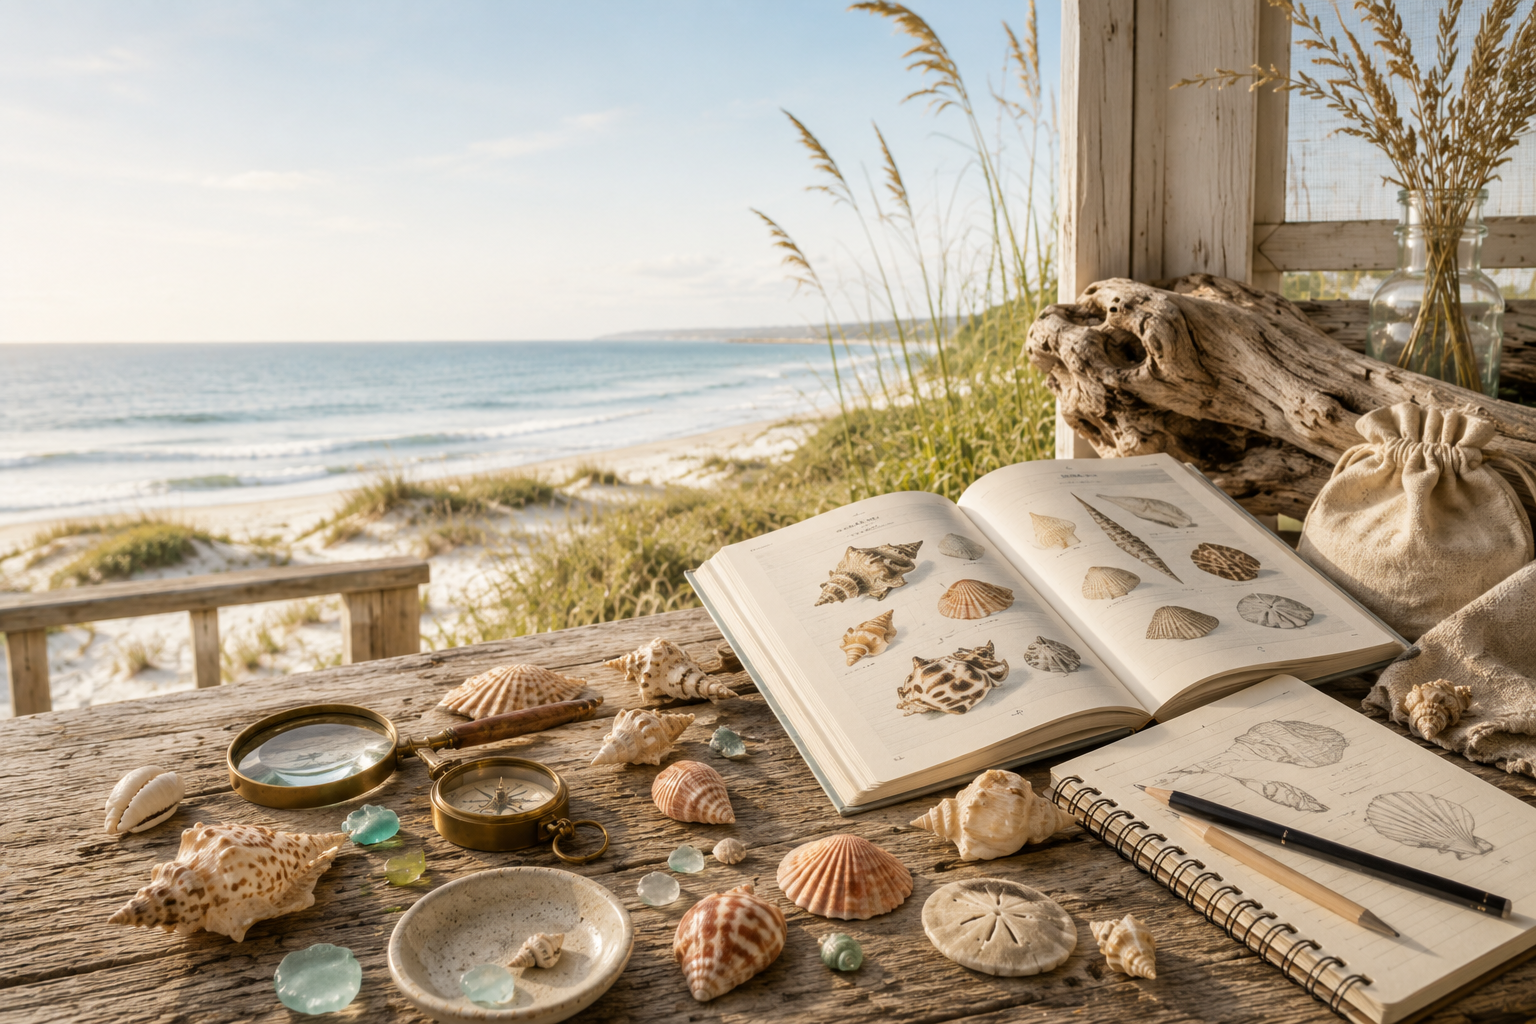
Identify Your Shell
Shell Identification Guide
Find out exactly what you picked up before you decide how to clean, keep, or display it.
Store & Preserve
Storing & Preserving Vacation Shells
Your next step once the shells are dry — how to pack, label, and preserve them for the long term.

Display Your Shells
Shell Displays
Turn a clean, finished shell into a keepsake worth showing in your home.
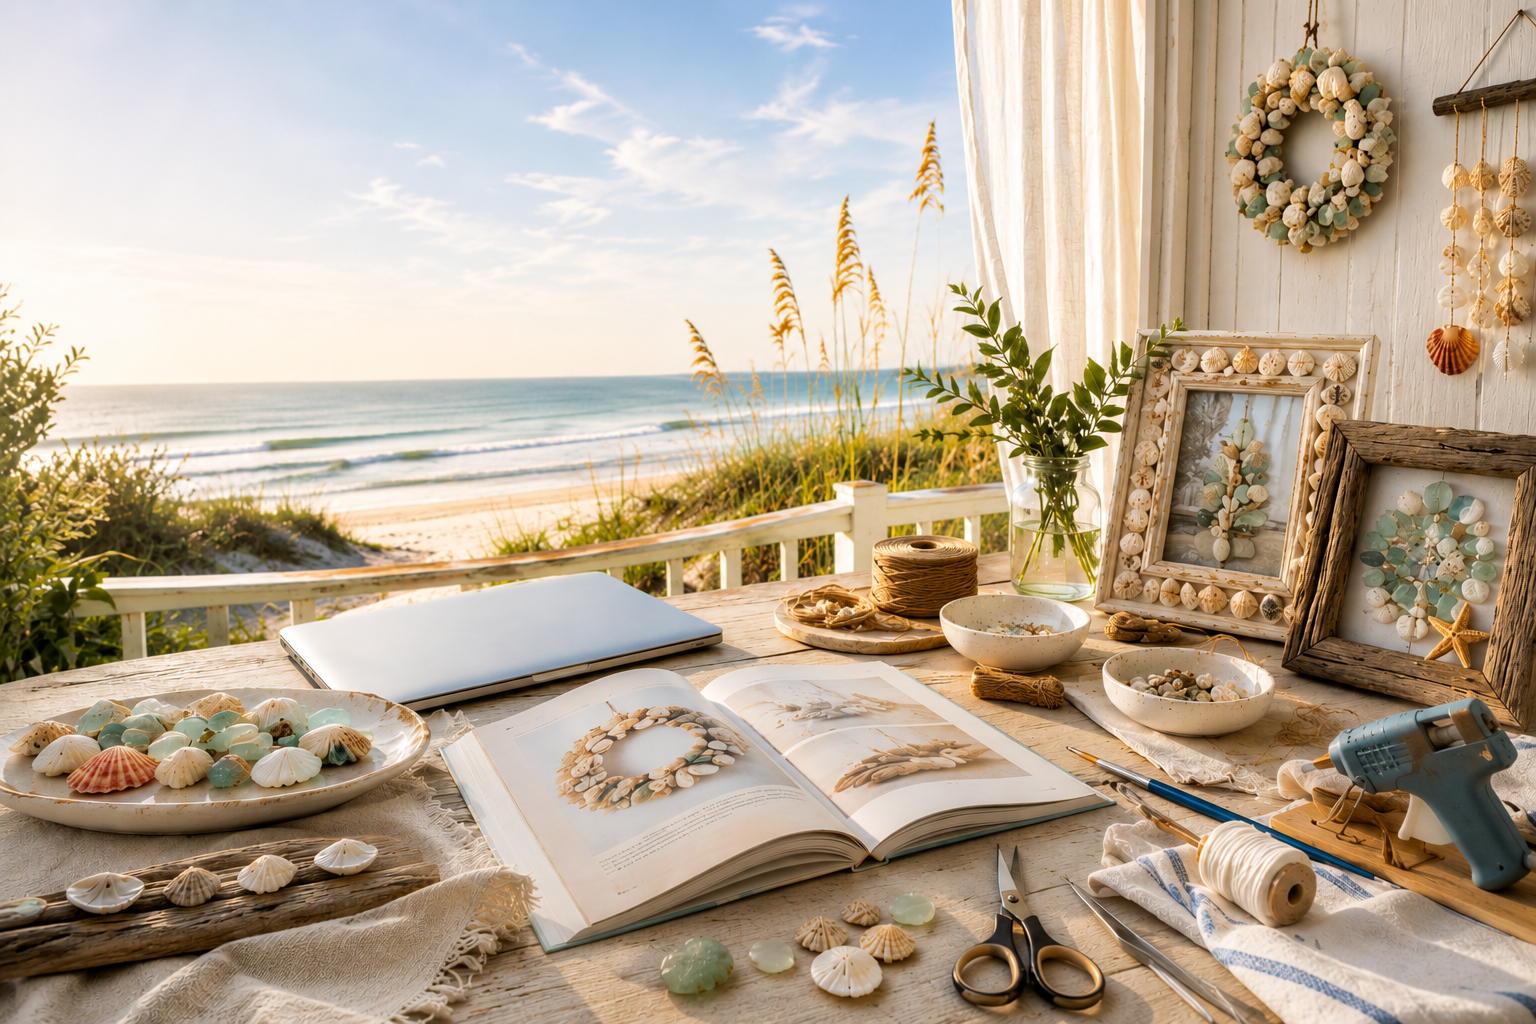
Create With Your Shells
Shell Craft Tutorials
Cleaned your shells for a project? Start here for craft and DIY ideas that use them well.
Shell Cleaning & Care
The Supplies We Keep on the Cleaning Table
Soft brushes, soaking trays, mineral oil, and storage that keeps a finished shell safe — gathered in one place.
Browse Shell Cleaning & CareContinue Your Beachcombing Journey
Hand-picked next steps — chosen because they build directly on what you've just read.
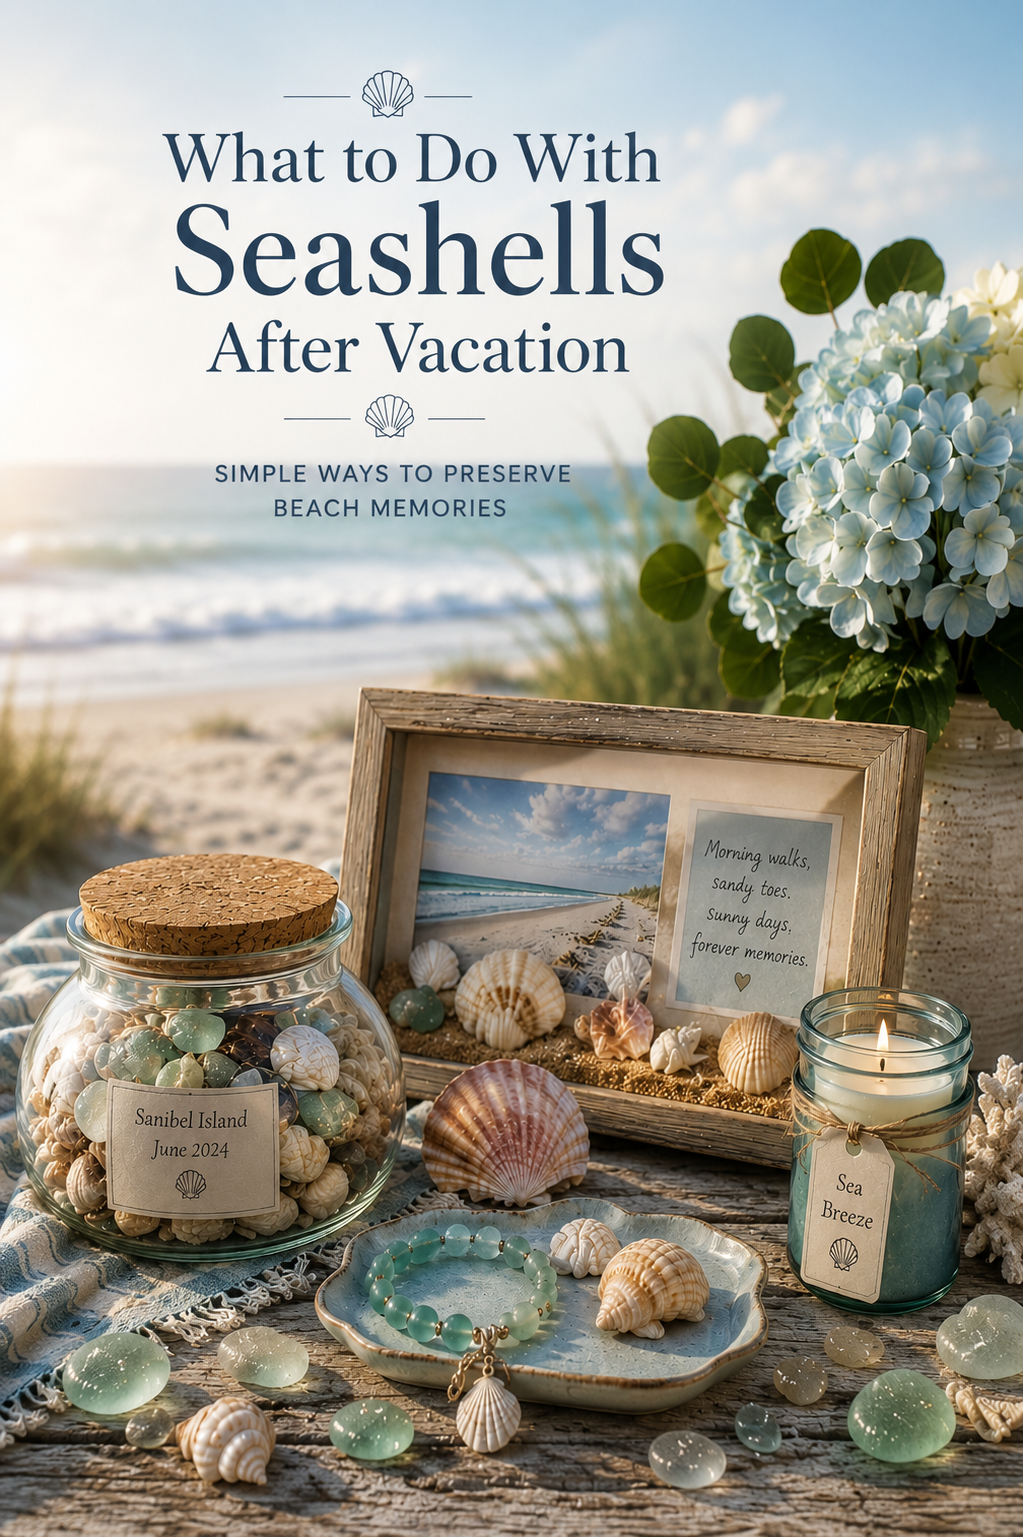
Article
What to Do With Seashells After Vacation: Simple Ways to Preserve Beach Memories
Builds on the same core topic.

Guide
Best Beaches for Shelling
Hand-picked next step from the editors.

Coastal Collection
Shell Care, Organization & Display
Hand-picked next step from the editors.
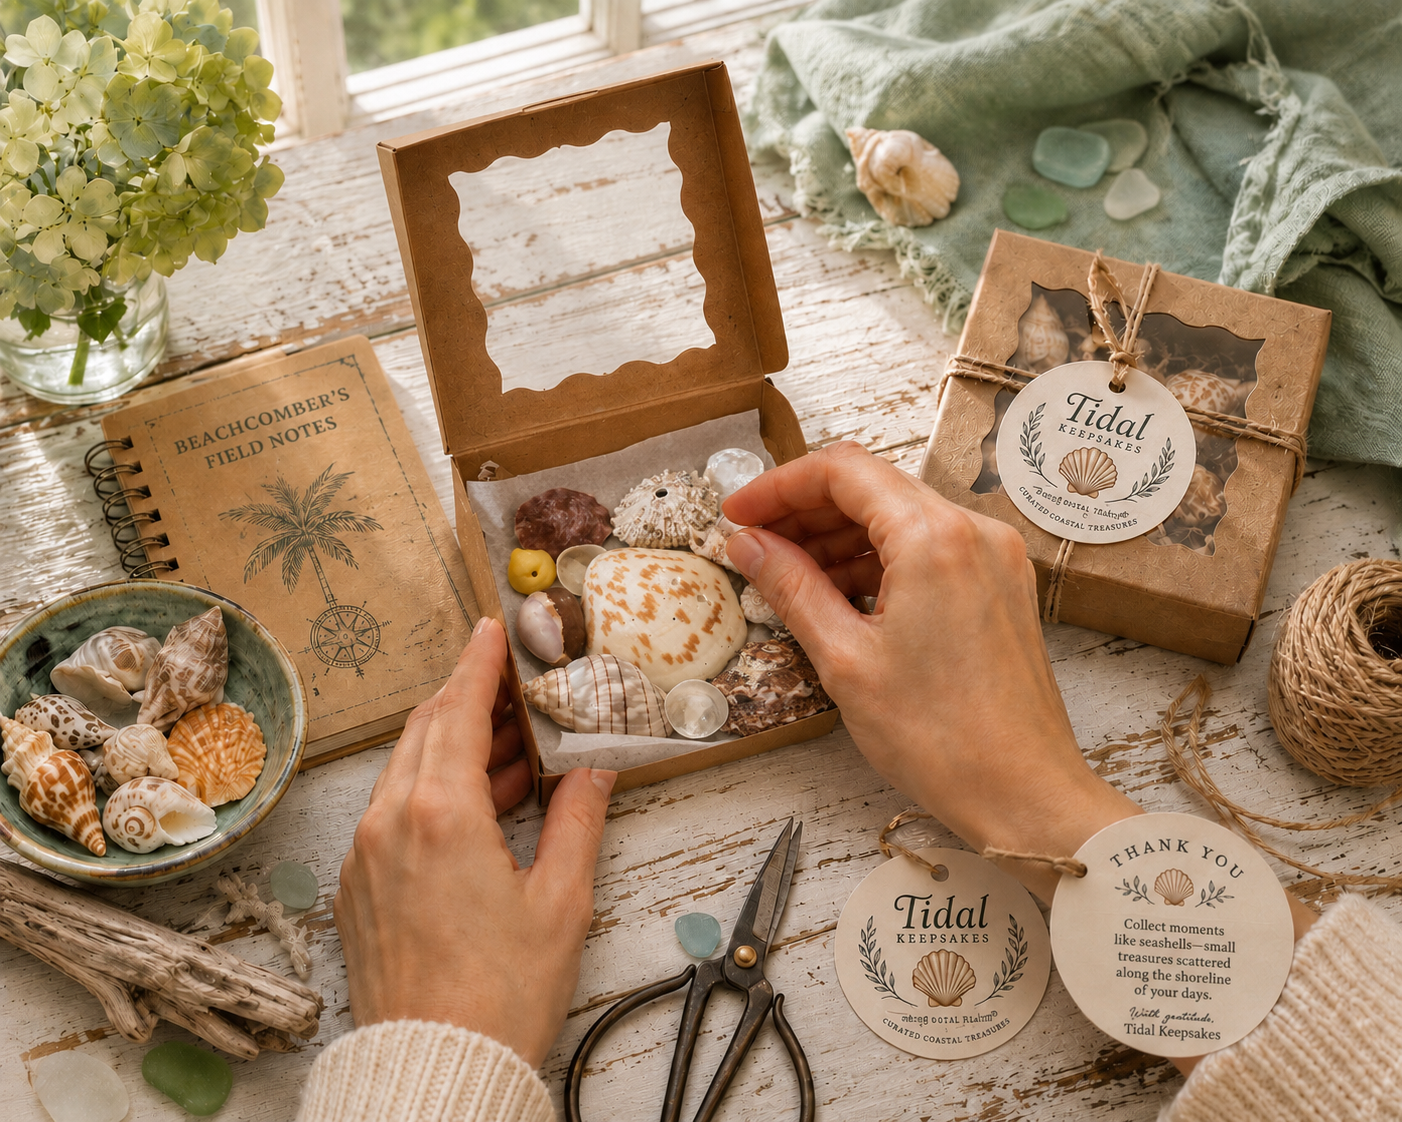
Curated Shell Box
The Mini Box
See these ideas in a curated collection.
Beaches Worth Exploring Next
Shores connected to the shells, regions, and conditions on this page.
North Carolina Outer Banks
Outer Banks
A 200-mile chain of Atlantic barrier islands — Cape Hatteras, Ocracoke, and Cape Lookout deliver whelks, olive shells, and the state shell,…
Explore BeachGeorgia Coast
Jekyll Island
Historic Golden Isle with generous public beaches — Driftwood Beach and St. Andrews shore deliver moon snails, jingle shells, and…
Explore BeachFlorida Gulf Coast
Sanibel Island
Sanibel's east-west orientation sweeps Gulf shells onto its shore in exceptional variety — the reason it's the most celebrated shelling…
Explore BeachNorth Carolina Outer Banks
Ocracoke Island
A ferry-only Outer Banks island south of Hatteras — sixteen miles of protected National Seashore beach where Scotch bonnets and knobbed…
Explore BeachDiscover More Coastal Inspiration
Curated coastal favorites and specimen boxes that echo the story above.
Coastal Collection
Shell Care, Organization & Display
Learn how to clean, organize, and display beachcombed treasures — from shadow boxes and specimen trays to shelves that tell the story of each find.
Explore CollectionCurated Shell Box
The Mini Box
Explore Collection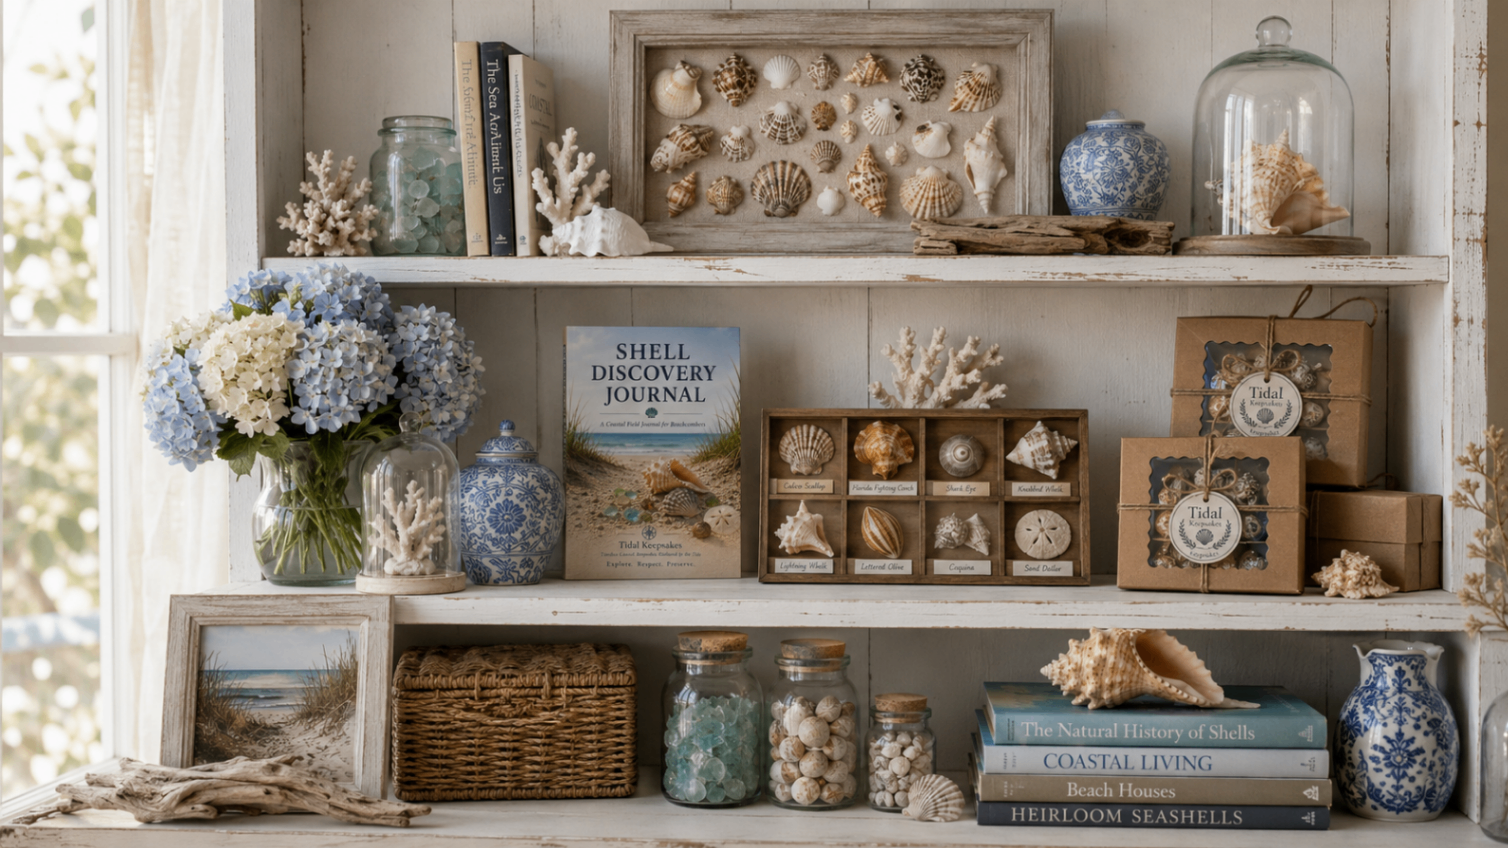
Curated Shell Box
The Collector Box
Explore CollectionFree Printable
Take This Guide With You
Download our illustrated, print-ready guide — perfect for shelling trips.
Download the Cleaning Seashells Printable (PDF)